Your Cart is Empty


Rose, Peach, & Gold Balloon Garland Instructions
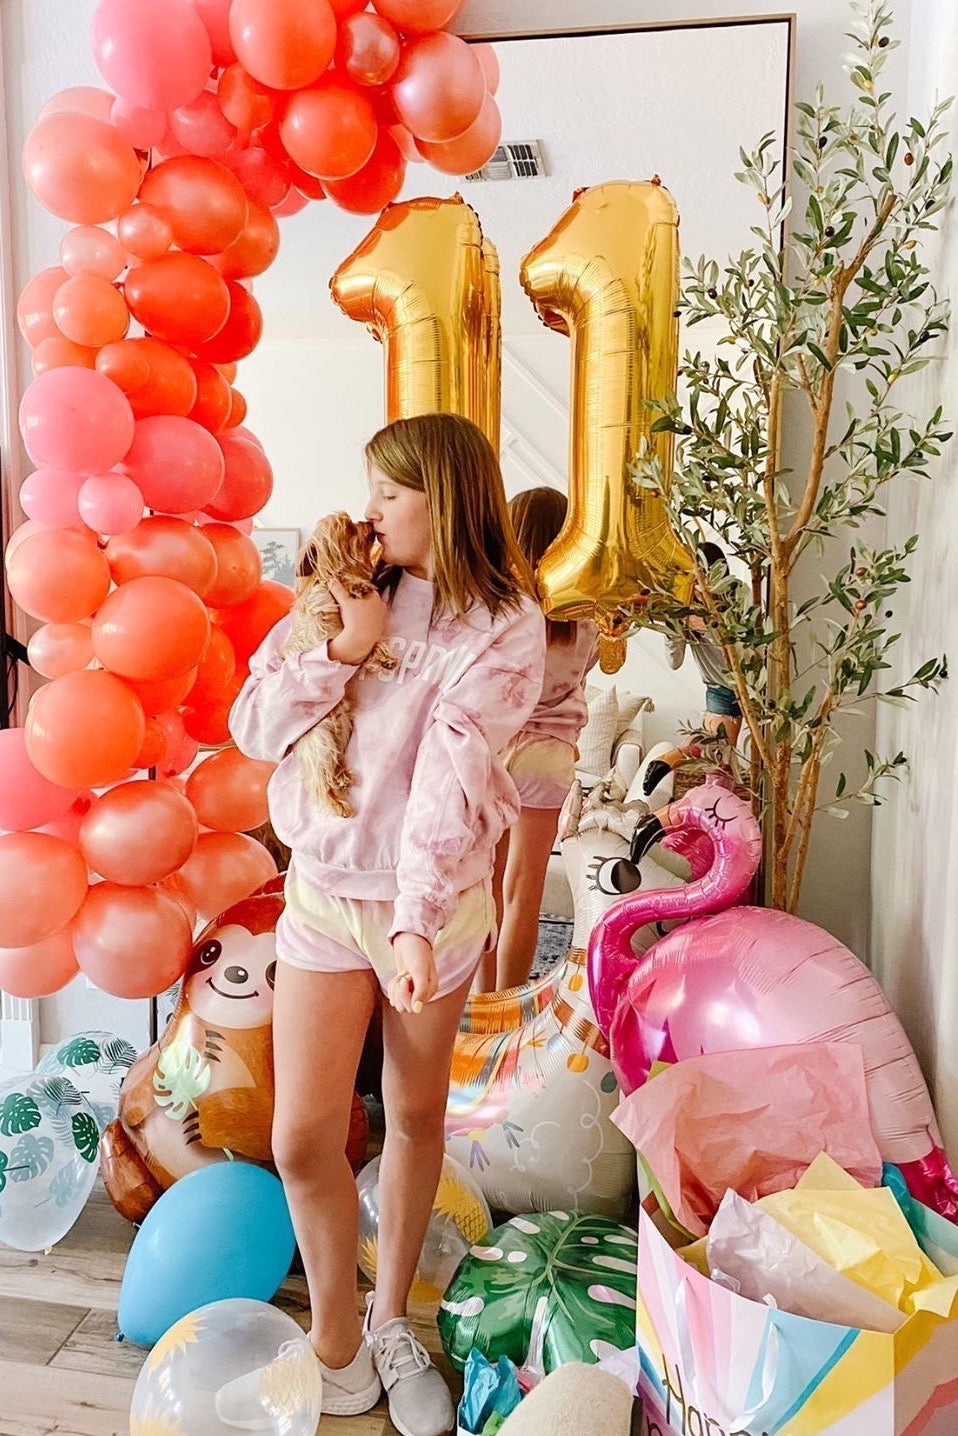
Thank you for ordering our Flamingo Balloon Garland!
Please follow the instructions below to create your own garland!

When Should I Make My Balloon Garland?
Your balloon garland can be made 3-4 days prior to your event. However, it will look best if you make it as close to your event date as possible. Also, the sun can wash out the color of the balloons, especially the chrome balloons, so if you will be making your garland in advance, please store it out of the sun or out of direct sunlight.
*TIP: Balloon garlands can take anywhere from 1-3 hours to make, depending on the length of the garland, so please make sure you allow for enough time to make it.
Blow Up Your Balloons:

If you ordered the balloon pump, then you will place the balloon on the pump, firmly hold the balloon onto the the tip of the pump (to prevent air leakage), and pump your balloon.
Be careful not to overfill your balloon or it will pop. You will get a sense, by looking at it, when it is close to full capacity.
Once your balloon is filled take it off the pump and tie a knot.
* TIP: To create a more contoured balloon garland with depth, we recommend blowing up the 11 inch balloons in various sizes. If you blow all the 11 inch balloons up at full capacity, then the decorating strip may get really full in some areas making it hard to place multiple 11 inch balloons next to each other.
* We also recommend blowing up all your balloons first, then attaching them to the balloon decorating strip.
How to Create a Round Balloon Versus an Oval Shaped Balloon:

If you want to give the balloon a more rounded out shape, then you can lightly push the balloon against a table top or floor, all the while releasing just a little air to help give it shape. This will flatten out the top of the balloon, so it will have less of that oval shape that it will naturally create. Once you are happy with the size and shape, then tie a knot.
Attach Balloons to Balloon Decorating Strip:

(Photo was from another garland)
Leave the first two balloon holes empty - these will be used for attaching your balloon garland to the first command hook when you are ready to hang your garland.
On the third hole begin attaching your balloons. You will first pull the balloon knot through the larger hole, then slide it to the left into the smaller hole.
* TIP: Be sure to only pull the balloon through to the knot. Do not pull past the knot as you will increase your chances of popping the balloon.

Alternate sides in which you pull the balloons through the strip. This will give the balloon garland dimension.
Also alternate the colors and sizes of the balloons you attach to the balloon decorating strip.
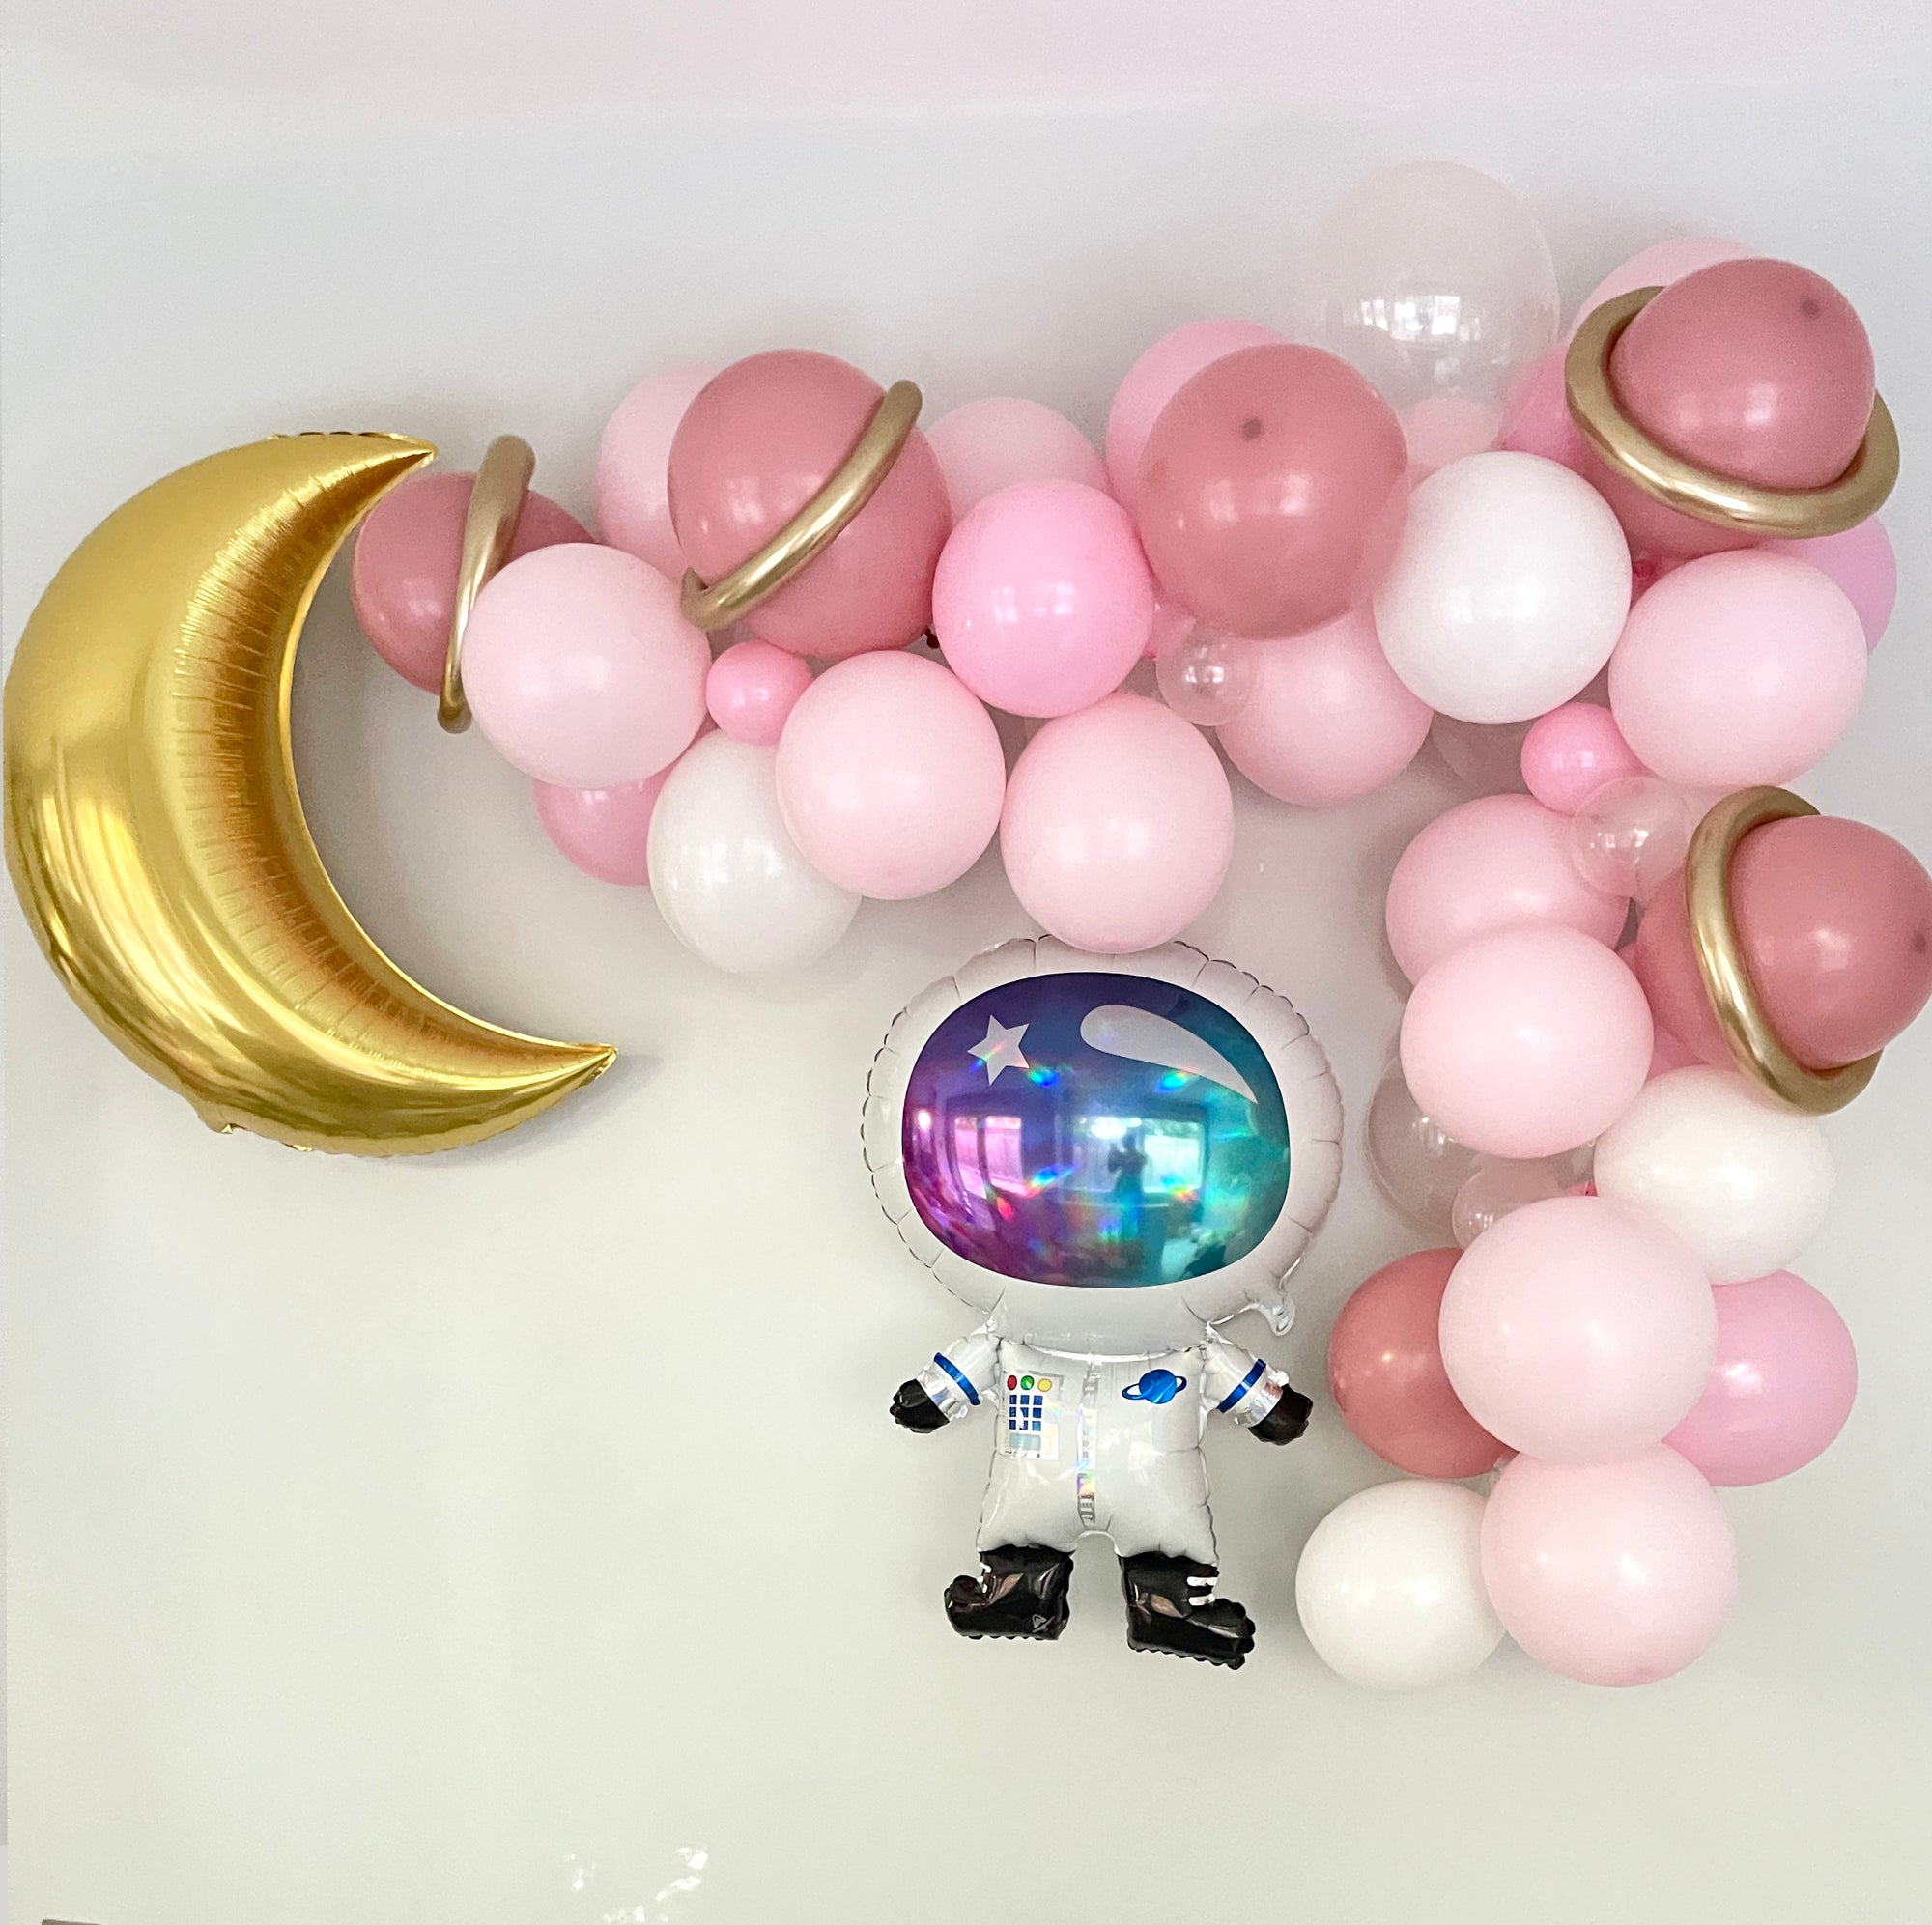
When you are done, be sure to leave 2 holes at the other end of your balloon garland empty, so you can hang it on the Command hook. However, if you are creating a half arch, like the one we created in the main product image, then you can fill the balloons up to the very last hole.
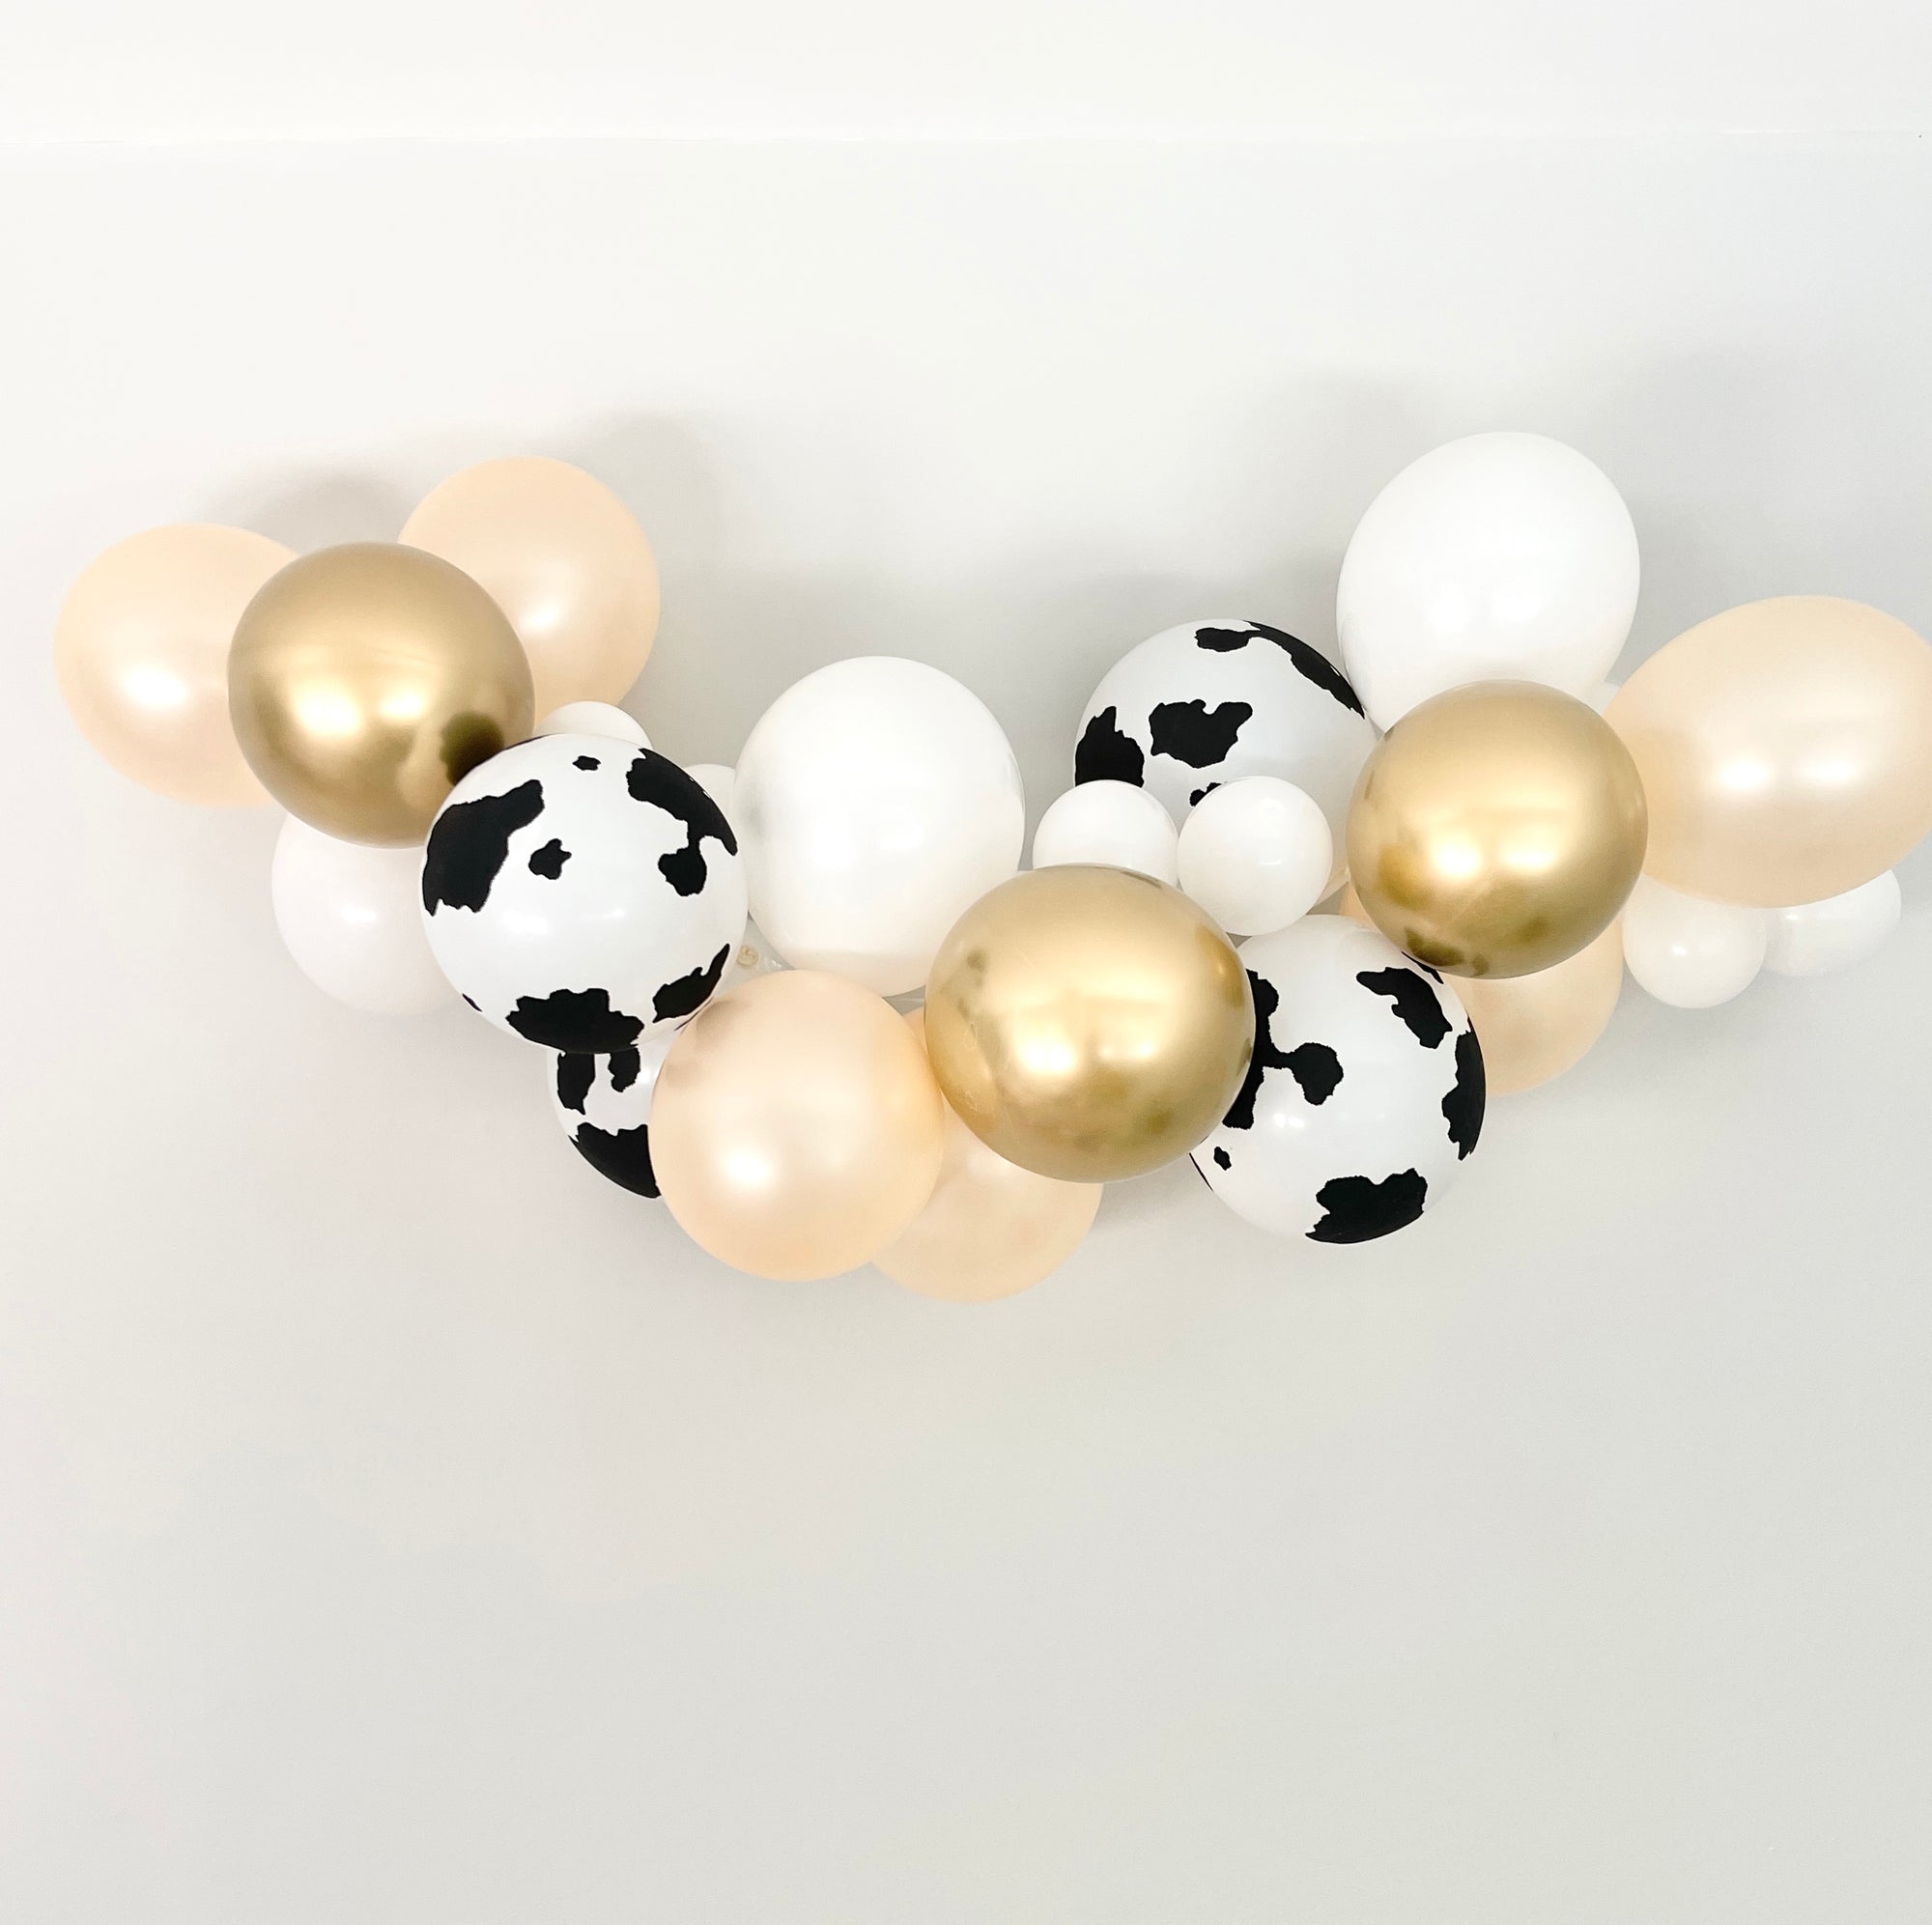
Exact sequence in which we added our balloons for this gender reveal balloon garland:
Please keep in mind this is a 10 foot balloon garland, so you may have to alter it slightly depending on if you ordered a smaller or larger balloon garland.
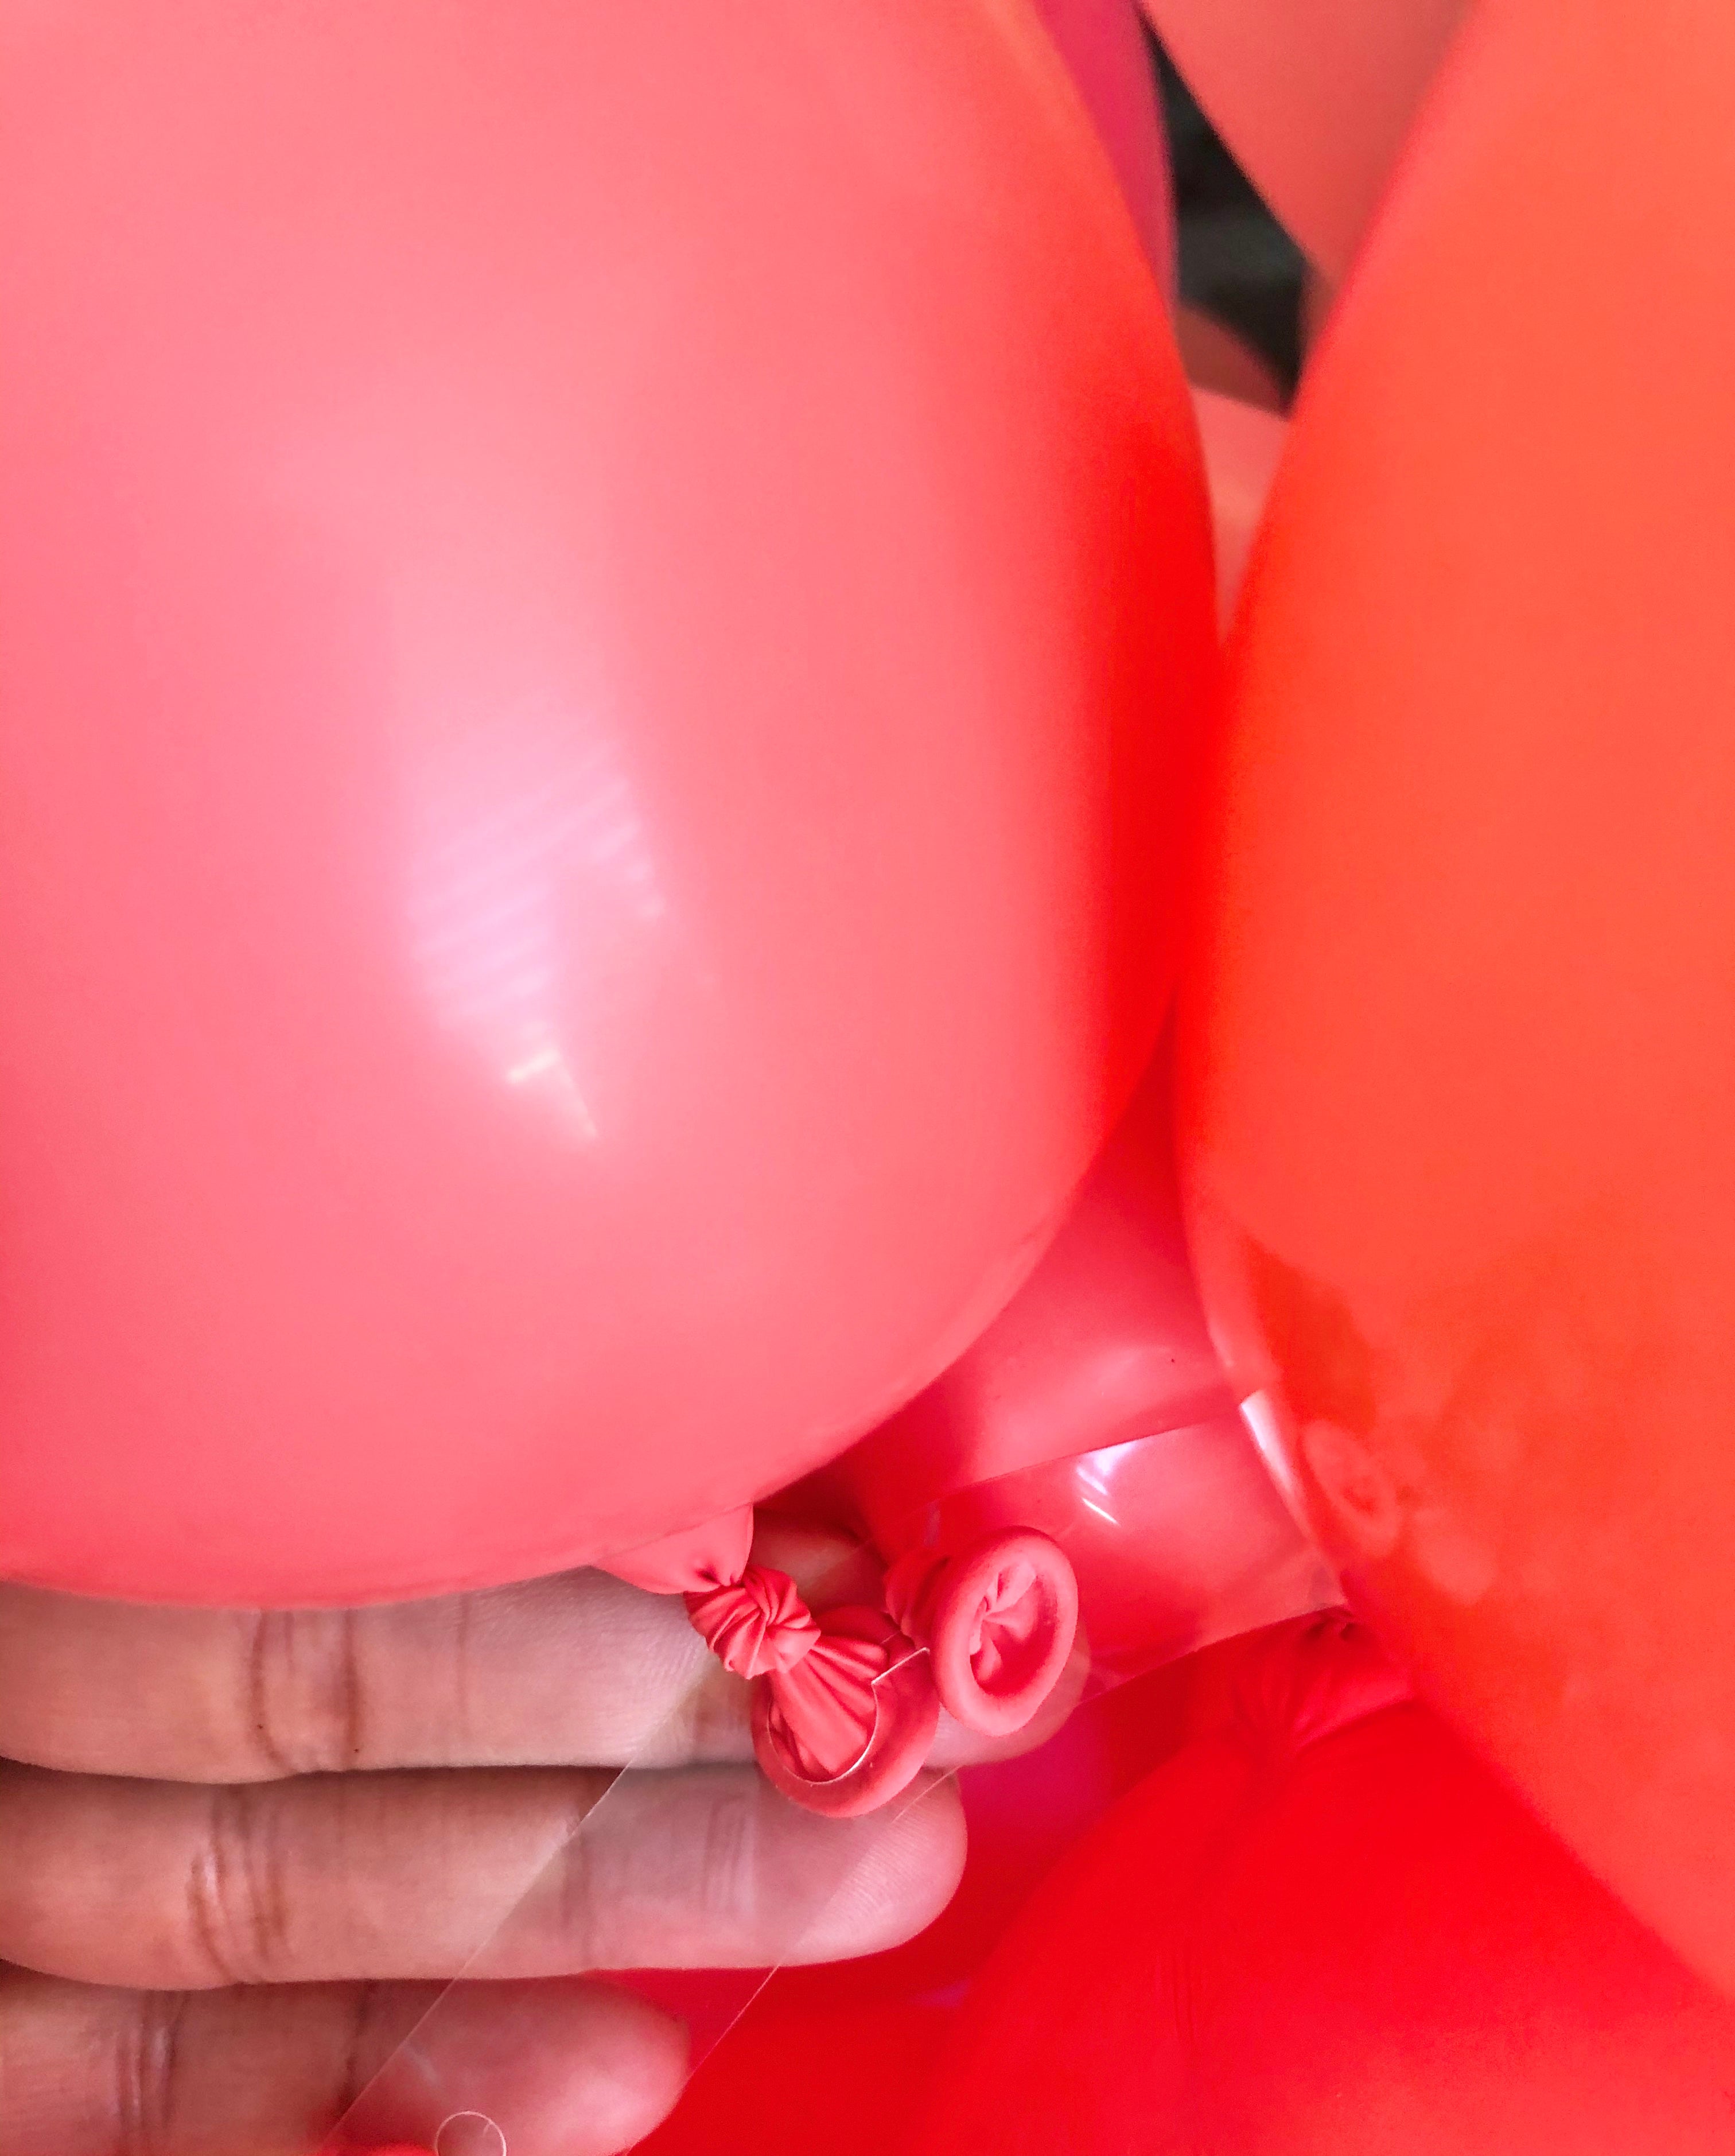
*TIP: Where it states "2 Balloons in 1 Hole" - that means 2 balloons will be placed in one hole, but pulled through from opposite sides of strip. See below for photo example.
- 11 inch rose
- 11 inch rose
- 5 inch rose: 2 balloons in 1 hole
- 11 inch peach pearl
- 11 inch peach pearl
- 5 inch rose: 2 balloons in 1 hole
- 11 inch chrome gold
- 11 inch chrome gold
- 5 inch rose - 2 balloons in 1 hole
- Repeat this same sequence until you reach the end
Hang Your Garland:
Option 1: Hang on Command Hook Using First Hole on Strip

(Photo was from another garland)
Place your first Command hook on the wall where you want your balloon garland to start. Give it a minute or two, then hang the first hole onto the Command hook.
Option 2: Hang on Command Hook Using Twine

(Photo was from another garland)
If you want to give your balloon garland some extra length, or if it feels a little tight using the first hole to hang the strip onto the Command hook, then grab the twine included in your kit. Cut the twine and loop it through the first hole on the balloon decorating strip, then tie a knot. Grab the twine and hang it onto your Command hook.
Hanging a Small Garland - Straight Across:
If you are creating a smaller garland then you will place your second Command hook on the wall where you want the balloon garland to end.
Leave the Command hook on the wall a few minutes before hanging. Pull your balloon garland across to meet the second hook. If it fits perfectly, then you can place the last empty hole onto the hook.
If it doesn't quite meet the Command hook, then use the string included in your kit to add length to your garland. Put the string through the last hole on your decorating strip. Pull the garland to where your Command hook is and estimate how much extra string you will need to get the strip to hang onto the hook. Then tie the string into a knot. Pull your garland across and hang!


HANGING A LARGER GARLAND - HALF ARCH: ACROSS WALL & CASCADES DOWNWARD:
If you are creating a larger garland then you will place your second Command hook on the wall where you want the balloon garland to curve, before it hangs down.
Leave the Command hook on the wall a few minutes before hanging. Pull your balloon garland across to meet the second hook.

Use the string included in your kit to make a loop through your garland, where you want it to curve on the wall, and tie a knot.

Pull the garland upward, toward the hook, and hang the string on the hook. Adjust the placement of the string as needed.
Now the balloon should look like a half arch where the rest of the garland hangs, allowing the balloons to cascade downward.
MAKE ADJUSTMENTS, IF NEEDED:

Take a step back and admire all your hard work! If you love it, then you can leave it.
If you want to adjust the movement you can pull balloons forward or push some back. The balloons on the garland are pretty flexible. For example, if a gold balloon is hiding in the back you can swing it to the front and the garland will not fall apart.
Also, if you want to adjust the color placement, then you can pull some balloons out of the holes and move swap them out with other balloons.
ADD ANY REMAINING BALLOONS WITH GLUE DOTS:
If you have any leftover balloons and want to create more dimension, then feel free to take a glue dot, place it on a balloon, and add it to the balloon garland wherever you want.
You can create smaller clusters using multiple 5 inch balloons. You can also create more length to a longer garland by adding more balloons to the end.
Attach Flamingo or Other Mylar Balloons:
Using multiple glue dots or tape, attach your mylar balloons. You can tape them to the other balloons on the balloon garland, fill them with helium and tie a string at the end to let them float, or tape them to the walls. The possibilities are endless!